Ultimate Guide to Crafting Irresistible Chicken Enchiladas: A Flavorful Journey for Every Home Chef
There’s something undeniably comforting about a plate of warm, saucy chicken enchiladas. Whether you’re hosting a festive gathering or craving a cozy family dinner, this classic Mexican-inspired dish never fails to delight. In this comprehensive guide, we’ll walk you through crafting mouthwatering chicken enchiladas from scratch, complete with tips for customization, meal prep, and achieving that perfect balance of flavors—all while keeping the process simple and enjoyable.
Why Chicken Enchiladas Should Be a Staple in Your Meals
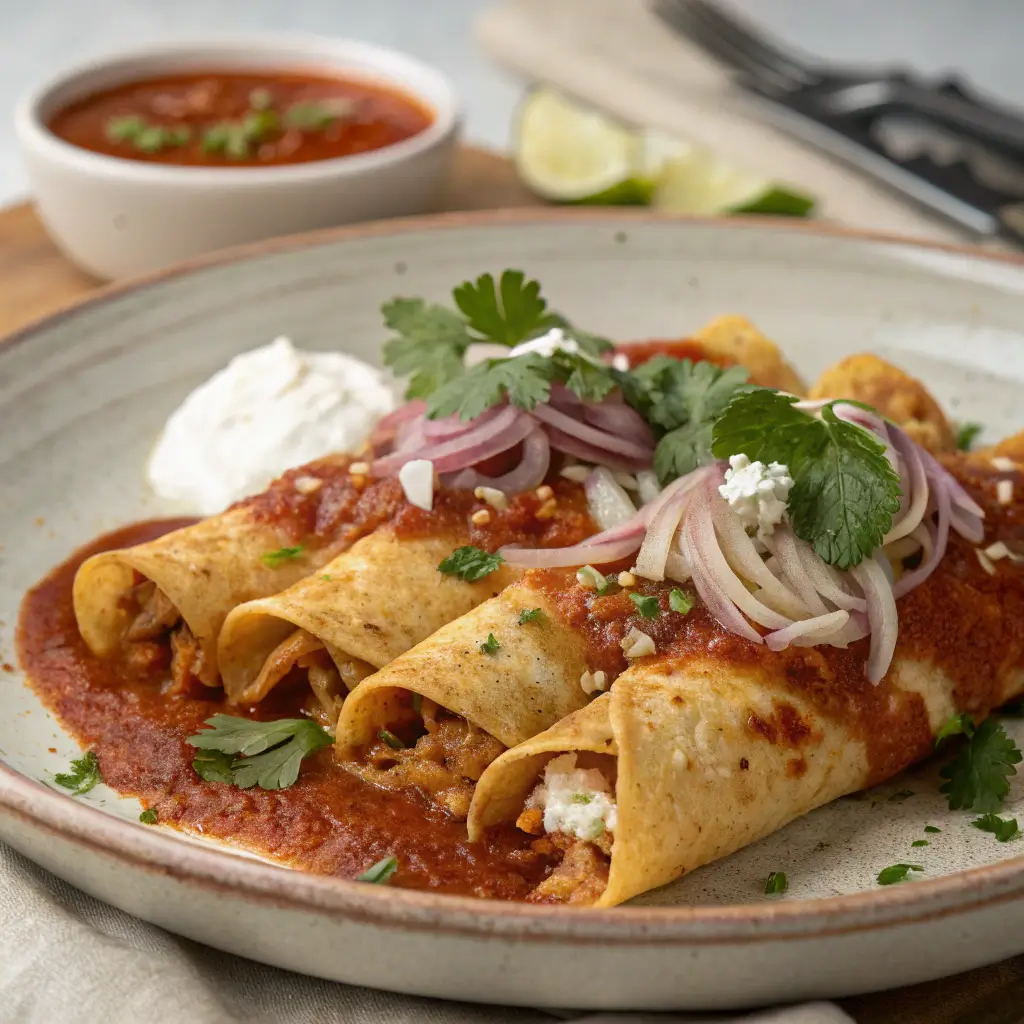
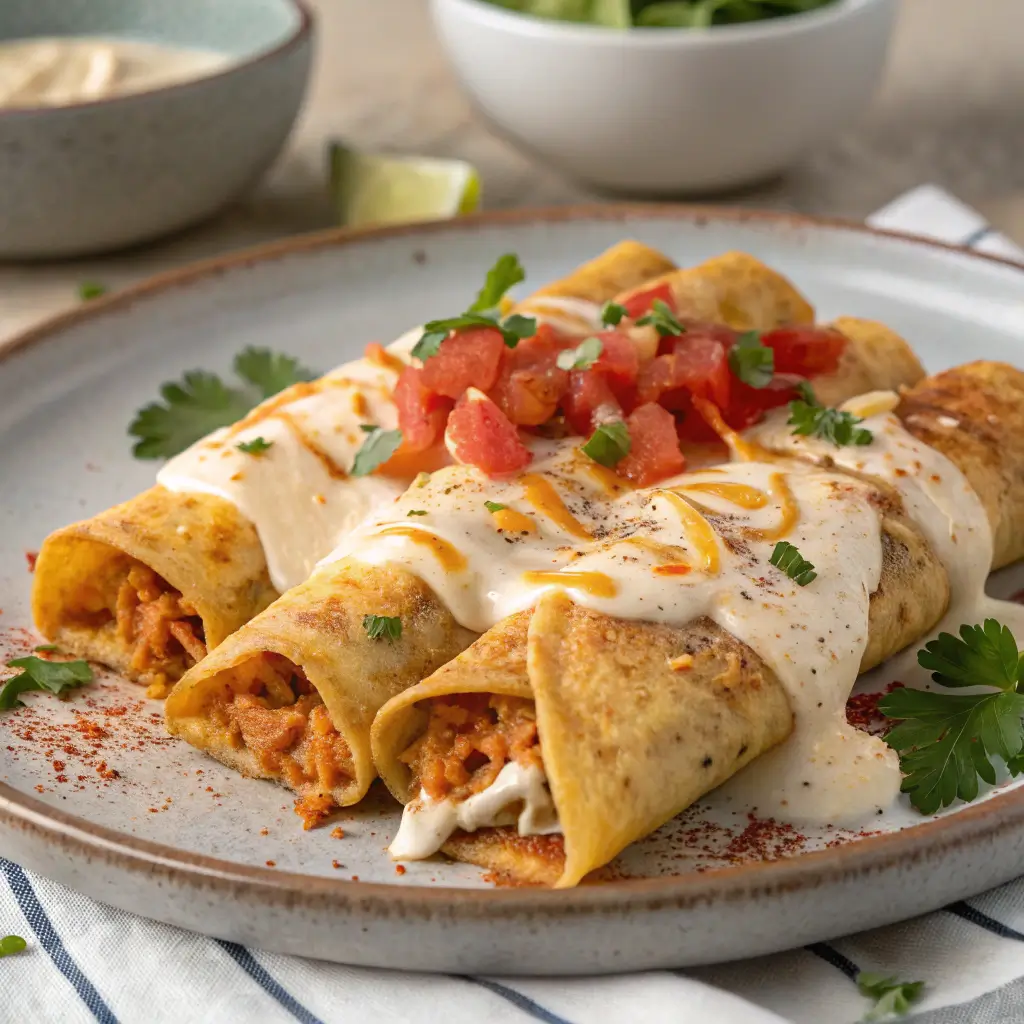
Chicken enchiladas are a culinary masterpiece that combines tender shredded chicken, zesty spices, and creamy cheeses wrapped in soft tortillas and smothered in a rich, savory sauce. Beyond their deliciousness, they’re incredibly versatile. You can tweak the heat level, experiment with fillings, or even make them gluten-free or dairy-free to suit dietary preferences.
What’s more, enchiladas are a fantastic way to repurpose leftovers. Got some roasted chicken or veggies from last night’s dinner? They’ll shine in this recipe. Additionally, enchiladas are ideal for batch cooking, making weeknight dinners a breeze. Transitioning from store-bought to homemade enchiladas might seem daunting, but fear not! With fresh ingredients and a few pro tips, you’ll master this dish in no time. Let’s dive into the essentials.

Ingredients You’ll Need for Authentic Flavor
Before we begin, let’s gather the ingredients. Freshness is key here—opt for high-quality items to elevate your enchiladas from good to unforgettable.
For the Chicken Filling:
- 3 cups cooked shredded chicken (rotisserie chicken works wonders!)
- 1 tablespoon olive oil
- 1 medium onion, finely diced
- ½ cup fresh cilantro, chopped
- 1 teaspoon ground cumin
- 3 garlic cloves, minced
- 1 teaspoon chili powder
- 1 teaspoon smoked paprika
- ½ teaspoon dried oregano
- 1 cup corn kernels (either fresh or frozen)
- 1 (4-ounce) can of diced green chiles
- Salt and pepper to taste
For the Enchilada Sauce:
- 2 tablespoons olive oil
- 2 tablespoons all-purpose flour (or gluten-free alternative)
- 1 teaspoon garlic powder
- 2 tablespoons tomato paste
- 2 cups of low-sodium chicken broth (preferred for a healthier option).
- 1 teaspoon cumin
- ½ teaspoon onion powder
- ½ teaspoon smoked paprika
- Salt and pepper to taste
Additional Essentials:
- 8-10 soft flour or corn tortillas
- 2 cups of grated cheese (choose cheddar, Monterey Jack, or a combination).
- Optional toppings: diced avocado, sour cream, lime wedges, pickled jalapeños
Step-by-Step Guide to Perfect Enchiladas
Now that we’ve assembled our ingredients, let’s break down the process into manageable steps. Follow along closely for foolproof results!
1. Prepare the Flavor-Packed Chicken Filling
Heat olive oil in a large skillet over medium heat to begin. Toss in the diced onion and cook until it turns translucent, about 3-4 minutes. Stir in the minced garlic, cumin, chili powder, smoked paprika, and oregano, allowing the spices to bloom for 1 minute. This step is crucial—it unlocks the oils in the spices, intensifying their aroma and flavor.
Next, add the shredded chicken, corn, green chiles, and cilantro. Mix thoroughly to coat the chicken in the spice blend. Cook for 3-4 minutes, then season with salt and pepper. Set the filling aside.
2. Whip Up the Homemade Enchilada Sauce
While store-bought sauce is convenient, homemade sauce takes this dish to new heights. In the same skillet, warm olive oil over medium heat. Whisk in the flour to create a roux, cooking until golden (about 2 minutes). Add tomato paste, followed by chicken broth, cumin, garlic powder, onion powder, and smoked paprika. Let it simmer for 5-7 minutes, stirring now and then, until the sauce thickens. Season with salt and pepper.
Pro Tip: For a smokier flavor, add a pinch of chipotle powder. If you prefer a smoother texture, blend the sauce briefly with an immersion blender.
3. Assemble the Enchiladas
Preheat your oven to 375°F (190°C). Lightly grease a 9×13-inch baking dish with oil or cooking spray.
Warm the tortillas in a dry skillet or microwave for 20 seconds to make them pliable. Spoon ¼ cup of the chicken filling onto each tortilla, sprinkle with cheese, and roll tightly. Place seam-side down in the baking dish. Continue layering until all the filling is used up.
4. Sauce, Cheese, and Bake!
Spread the enchilada sauce evenly over the rolled tortillas. Top with remaining cheese. Bake without a cover for 20-25 minutes, until the cheese is melted, bubbly, and golden.
5. Garnish and Serve
Allow the enchiladas to cool slightly before serving. Garnish with fresh cilantro, avocado slices, a dollop of sour cream, or a squeeze of lime. Pair with Mexican rice, refried beans, or a crisp salad for a complete meal.
Customization Ideas to Suit Every Palate
One of the greatest strengths of enchiladas is their adaptability. Here’s how to tailor this recipe to your preferences:
Vegetarian Option: Swap chicken for black beans, roasted sweet potatoes, or sautéed mushrooms. For a protein-packed twist, try crumbled tofu seasoned with taco spices.
Dairy-Free: Use plant-based cheese and omit sour cream, or try a cashew-based crema. Blend soaked cashews with lime juice, garlic, and water for a creamy, tangy topping.
Extra Heat: Add diced jalapeños to the filling or mix hot sauce into the enchilada sauce. For a smoky kick, stir in a spoonful of adobo sauce from canned chipotle peppers.
Gluten-Free: Use corn tortillas and a gluten-free flour substitute (like rice flour) for the sauce. Ensure your broth and spices are certified gluten-free.
Additionally, you can experiment with different cheeses—pepper Jack for spice, cotija for a salty kick, or queso fresco for authenticity.

Meal Prep and Storage Tips
Enchiladas are a meal-prepper’s dream. Assemble them ahead of time and refrigerate (unbaked) for up to 2 days. Alternatively, freeze individual portions for up to 3 months. To reheat, bake from frozen at 350°F (175°C) for 30-40 minutes, covered with foil to prevent drying.
Leftovers? Keep them in an airtight container for 3-4 days. The flavors blend and improve overnight! For a quick lunch, reheat portions in the microwave or air fryer until crispy.
Why Homemade Enchiladas Outshine Restaurant Versions
While dining out is convenient, homemade enchiladas offer unmatched freshness and control over ingredients. You can adjust sodium levels, avoid preservatives, and customize flavors to your liking. For instance, many restaurant versions rely on heavy oils or excessive cheese, but at home, you can strike a balance between indulgence and nutrition.
Moreover, cooking at home fosters creativity. Try adding roasted red peppers for sweetness, spinach for a nutrient boost, or a sprinkle of toasted pumpkin seeds for crunch. You’ll also save money—homemade enchiladas cost a fraction of restaurant prices!
FAQs: Solving Common Enchilada Dilemmas
Q: How do I prevent soggy tortillas?
A: Lightly fry corn tortillas in oil before filling, or dip flour tortillas in warm sauce briefly. This helps prevent moisture from seeping in.
Q: Can I use store-bought rotisserie chicken?
A: Absolutely! It’s a time-saver and adds depth of flavor. Just remove the skin and shred the meat finely.
Q: What if my sauce is too thick?
A: Thin it with a splash of broth or water until desired consistency is reached.
Q: Can I make enchiladas spicier for adults but mild for kids?
A: Yes! Divide the filling and sauce into two batches—add extra heat to one portion and keep the other mild.
Q: How do I keep enchiladas from drying out during baking?
A: Cover the dish with foil for the first 15 minutes of baking, then remove it to let the cheese brown.
The Cultural Roots of Enchiladas
To fully appreciate this dish, let’s explore its origins. Enchiladas trace back to ancient Mayan times, where people dipped tortillas in chili sauce. The modern version evolved in Mexico, with regional variations like enchiladas verdes (green sauce) and enchiladas suizas (topped with cream). By making enchiladas at home, you’re participating in a centuries-old tradition of sharing hearty, flavorful food with loved ones.
Interestingly, enchiladas were first mentioned in Mexican cookbooks in the 19th century. Today, they’re celebrated globally, with each culture adding its twist—from Tex-Mex versions smothered in cheese to lighter, veggie-centric interpretations.
Troubleshooting Common Enchilada Challenges
Even seasoned cooks encounter hiccups. Here’s how to solve common problems:
Problem: Tortillas cracking during rolling.
Solution: Warm tortillas thoroughly and keep them covered with a damp towel while assembling.
Problem: Sauce too bland.
Solution: Adjust seasoning with a pinch of sugar or a splash of lime juice to balance acidity.
Problem: Enchiladas sticking to the baking dish.
Solution: Grease the dish generously or line it with a thin layer of sauce before adding rolled tortillas.
Perfect Pairings to Complement Your Dish
Elevate your enchilada experience with complementary sides and beverages:
- Sides: Mexican street corn (elote), citrusy black bean salad, or roasted poblano peppers.
- Drinks: A chilled horchata, tangy tamarind agua fresca, or a crisp lager.
- Dessert: Churros with chocolate dipping sauce or mango sorbet for a refreshing finish.
Healthier Twists Without Sacrificing Flavor
For a lighter take, try these swaps:
- Swap sour cream for Greek yogurt.
- Opt for low-fat cheese or reduce the quantity by half.
- Load up on veggies like zucchini, bell peppers, or kale in the filling.
- Bake tortillas instead of frying them for a crispy texture with less oil.
Final Thoughts: Embrace the Art of Enchilada-Making
Mastering chicken enchiladas is a rewarding culinary adventure. With their harmonious blend of textures and flavors, they’re sure to become a staple in your recipe repertoire. Whether you stick to the classic version or experiment with bold twists, the key is to have fun and savor the process.
So, tie on your apron, gather your ingredients, and let the aroma of spices and melted cheese fill your kitchen. Your journey to enchilada perfection starts now!
